 Written by Ajai Chemmanam
This blog helps to send an email from your NextJS API Routes by using emailjs library.
Background
In order to setup a contact form for my portfolio, I needed to send an email to my personal mail. After a lot of searching, I used EmailJS to send emails.
Setting up the Form
Setup a basic form in /pages/contact.js as following. Ensure onSubmit corresponds to a function that handles the logic on what to do with the form data.
<form name="contact" onSubmit="{handleSubmit}">
  <label htmlFor="name"> Name </label>
  <input type="text" id="name" name="name" onChange={(e) =>
  setName(e.target.value)} />
  <label htmlFor="email"> Email </label>
  <input type="email" id="email" name="email" onChange={(e) =>
  setEmail(e.target.value)} />
  <label htmlFor="message"> Message </label>
  <textarea id="message" name="message" onChange={(e) =>
  setMessage(e.target.value)} />
  <button type="submit">Submit</button>
</form>
For similicity all the CSS and classnames of the form are removed in this example. You can add them as necessary.
Handle Submit through API
On clicking the submit button in the form, the function referenced in onSubmit of the form is called. Logic on what to do with the form data is defined here.
async function handleSubmit(e) {
  e.preventDefault();
  const formData = new FormData(e.target);
  const content = {};
  formData.forEach((value, key) => {
    content[key] = value;
  });

  const res = await fetch("/api/contact", {
    // POST REQUEST TO /api/contact endpoint
    body: JSON.stringify(content),
    headers: {
      "Content-Type": "application/json",
    },
    method: "POST",
  });

  const result = await res.json();
  e.target.reset(); // Reset Form
  alert(result.message);
}
API Endpoint
Install the emailjs library :
npm install emailjs
The content in /api/contact.js is as follows.
import { SMTPClient } from "emailjs";
import process from "process";
export default async function handler(req, res) {
  if (req.method === "POST") {
    const client = new SMTPClient({
      user: process.env.FROM_EMAIL_USERNAME,
      password: process.env.FROM_EMAIL_PASSWORD,
      host: process.env.FROM_EMAIL_HOST,
      ssl: true,
    });
    try {
      // client.send({
      await client.sendAsync({
        text: JSON.stringify(req.body),
        from: process.env.FROM_EMAIL_USERNAME,
        to: process.env.TO_EMAIL_USERNAME,
        subject: "Contact Message from Portfolio",
      });
    } catch (e) {
      res.status(400).end(JSON.stringify({ message: "Error" }));
      return;
    }
    res.status(200).end(JSON.stringify({ message: "Mail Sent" }));
  } else {
    res.status(400).end(JSON.stringify({ message: "Method Not Allowed" }));
  }
}
NextJS will create an endpoint at /api/contact. The secrets are stored in an .env file at the root of the directory.
FROM_EMAIL_USERNAME="Email Address from which the email has to be sent"
FROM_EMAIL_PASSWORD="Password of From Email Address"
FROM_EMAIL_HOST="smtp.gmail.com" # for Gmail
TO_EMAIL_USERNAME="Email Address to which the email has to be sent"
Make sure the .env file is not shared publicly (Add to .gitignore).
Deploying on Vercel
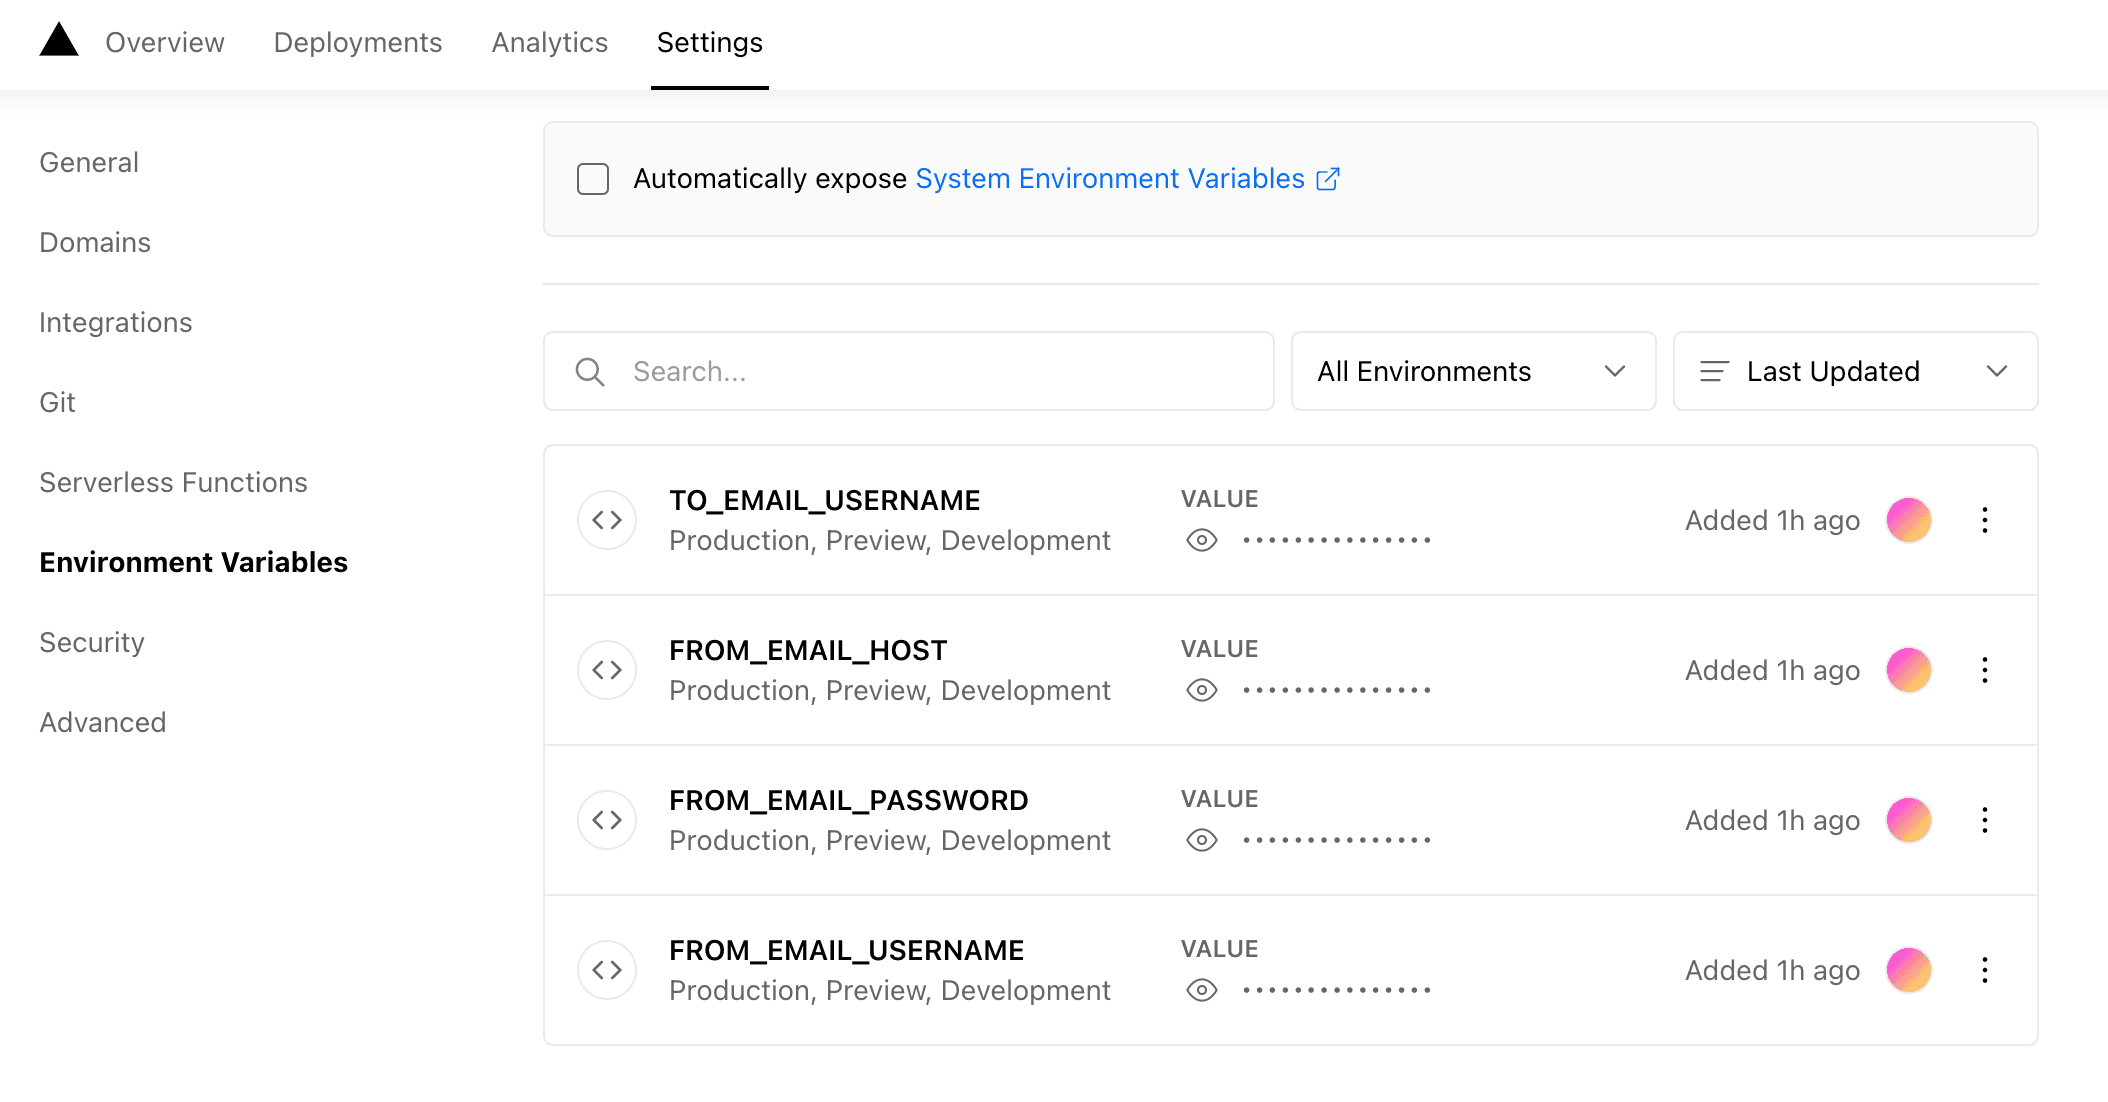
As we don't publish the .env file, We need to add the secret keys to the Vercel Deployment environment.
- Login to the Vercel Deployment Page.
- Go to Settings and Select Environment Variables.
- Fill Name and Value of the secrets.
Once added, the final page will look something like this.
You can now fill out the form and an email will be sent to your email id.